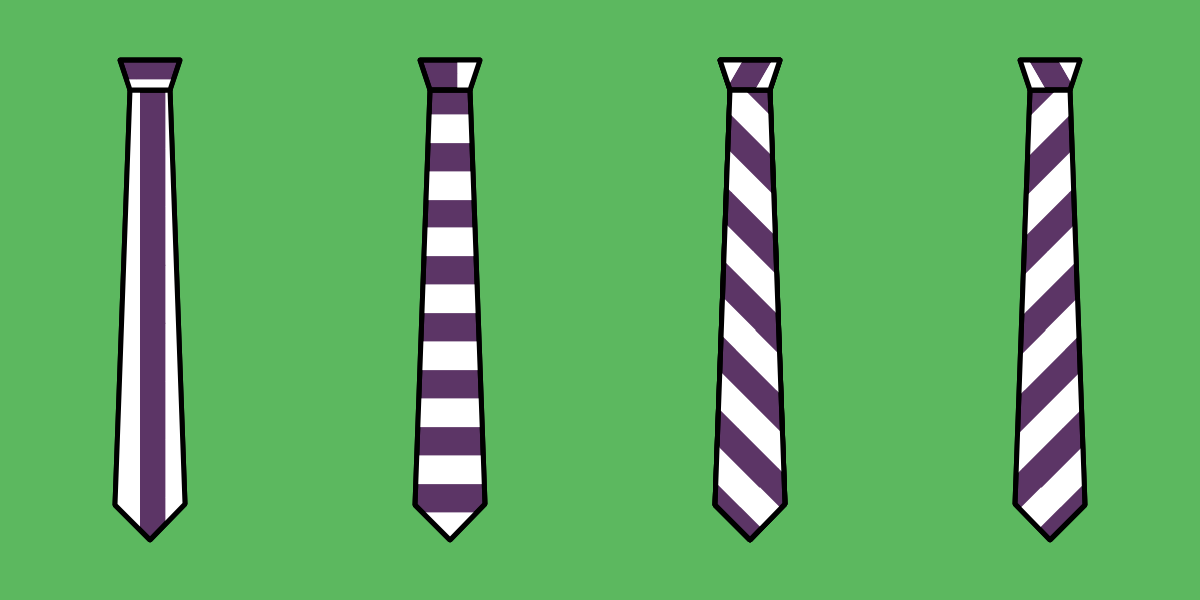
Trayvon: FreeSewing's Trayvon Tie
About Shin
Shin are athletic swim trunks.
- 🤯🧵🧵🧵🧵🧵( difficulty = 2/5 )
- 🏷️bottomsswimwear( 2 tags )
- 🪡hemstretchcurvedSeamelastic( 4 techniques )
- 📐Joost De Cock( designer )
- 🧑💻Joost De Cock( developer )
- 💡Sewing Instructions for Shin
- ✂️Generate a bespoke sewing pattern for Shin
- ❤️#FreeSewingShin( Hashtag for social media )
- Linedrawing
- Measurements
- Design Options
- Design Parts
Required Measurements
- Fit
- Back rise
Controls how much the waist is higher in the back than the front. - Bulge
Controls the amount of extra room to create at the front of the trunks. - Leg reduction
Reduces the leg opening to prevent gaping - Stretch
The amount of stretch to design for.
- Back rise
- Style
- Elastic width
Width of the elastic at the waist - Rise
Controls the height of the waist.
- Elastic width
| ID | Description |
|---|---|
shin.back | Back |
shin.front | Front |
shin.waistband | Waistband |
Designer Notes
There's about a million patterns for ties on the internet, so why make another one, right?
Well, this started hen I wanted to make a tie but every pattern I found was cutting corners. Specifically, they all put the seam between the back and the font at the exact tip. Which, sure, is easier to make. But that's not how ties are supposed to be made.
So, I designed this pattern so I could make ties that looks professional, and not home-made.
I gave it the name trayvon in memory of Trayvon
Martin and more generally to
honour the memory of all victims of brutality at the hands of people in a
position of authority.
joost
What You Need
To make Trayvon, you will need the following:
- Basic sewing supplies
- Between 0.5 meters - 1.5 meters (0.6 - 1.7 yards) of a suitable fabric (see Fabric options), depending on whether you're cutting on the bias, the grain, or the cross-grain.
Fabric Options
Tie fabric
The ties you find in the store are typically made out of silk or some imitation silk poly. So it will come as no surprise that those are good options.
In general, you want something with good drape so that your tie hangs nicely. Cutting your tie on bias can help here too.
Personally, I like using different fabrics for ties. Things like denim or corduroy make great ties, while being a bit different from the run-of-the-mill store-bought tie.
Additionally, silk and silk imitation is slippery and tricky to work with. If this your first tie, consider an alternative fabric that is more forgiving.
Just make sure you pick a fabric that does not stretch or lose its shape easily. You want your tie to look sharp, not saggy.
Tie lining
The lining of the tie is the bit that is used at the tip to cover up the back. If you are not sure what I mean, look at the back of the tip of an existing tie. See that rectangular patch of fabric you can see there? That is the tie lining.
Your tie lining will add an extra fabric inside a part of your tie. So it is important to avoid bulk. Go for something thin, even when using a thicker tie fabric.
Make sure your lining drapes at least as good as your tie fabric, so that it doesn't interfere with the drape of your tie.
When in doubt, go for imitation silk. Do make sure to pick something that is a nice match, or contrast, with your tie fabric.
Tie interfacing
Your tie interfacing is the skeleton of your tie. It is the part that sits in the middle and that you will only see while constructing your tie.
Tie interfacing can be notoriously hard to get. The best tie interfacing is soft, fuzzy woven lambswool, but I have yet to walk into a fabric store that carries this.
While you can get by with an alternative, like some wool fabric, or flannel, I typically re-use the interfacing from an old tie.
As long as you keep your tie away from scissors and bondage fanatics, your tie interfacing will effortlessly outlast your tie. So look in your wardrobe (or the charity shop/thrift store) for that old tie with the stain on it, and take it apart to salvage the tie interfacing.
As long as the tie you want to make is not wider or longer than the one you are recycling, you have your tie interfacing right there.
Cutting Instructions
- Main fabric
- Cut 1 tip
- Cut 1 tail
- Lining fabric
- Cut 1 lining tip
- Cut 1 lining tail
- Cut 1 loop
- Interfacing
- Cut 1 interfacing tip
- Cut 1 interfacing tail
- There is no seam allowance on the interfacing parts and the loop
- The lining tip and tail have only seam allowance at the tip
- The fabric tip and tail have only seam allowance at the tip and center

This pattern does not include a grain line. The grain line is typically printed on the pattern to show you how to place your pattern on your fabric, relative to the fabric's grain.
For a tie, how you do this is not so much a rule as it is a personal choice. As such, there is no grain line printed on the pattern. You can do what you want.
That being said, a lot of ties are cut on bias, as this results in the best drape. If you are unsure what to do, consider cutting your tie on bias.
If this all sounds very confusing, might I suggest reading the help page on Fabric grain.